Krasnik
August 23rd, 1914
Type: Meeting Engagement
Summary: This scenario is a composite and is bathtubbed, i. e. a battalion represents a division.
The Battle of Krasnik was the first major contact between the Austrians and the Russians in Galicia. The Russian Fourth Army was marching southward without a cavalry screen. They were surprised to encounter the Austrian First Army. The Austrians flanked the advancing Russians, forcing them to retreat after a two day battle. Bayonet charges were the order of the day.
Historical Result: Austrian victory.
So reads the introduction to
Command Decision's Great War East-A Scenario Book for Command Decision: Test of Battle (for WW1)
The game was played out on JZs table and he constructed many of the fine terrain features specifically for this game. (Pics below)
The rules we used are homegrown (by me BR) but influenced by other sets including Command Decision's Over the Top now out of print.
My objective with my 1914 WW1 armies was (is) to create a set of rules that are operational in scope. I am looking for a fast moving game with a lot of figures on a table top that looks like the Grand Manner type of gaming promoted by many gamers with an eye for detail in regards to the miniatures and gaming table.
My organization is very close to the organizations in
Great War East. I substituted a regiment for their battalion.
The Austrians for this game had five operational groupings while the Russians had four.
Four Austrian operational groupings were built around a three or four battalion infantry regiment. The total number of maneuver units in an Austrian regimental operational unit would be three or four battalions of infantry (4-two fig stands), a MG company (two MG models and crews) and an artillery battalion (of two gun models plus crews). The total number of maneuver units would total five (or six if a 4 battalion regiment). The Russians were organized in a similar matter.
Each side also had a two regiment cavalry brigade with three maneuver units each.
Regimental operations groups were activated via a card system (I go, you go) that determined movement and firing
The game set-up had the Russians strung out in road column to simulate the surprise they historically encountered. The Austrians were across the bridge at the start in considerable strength while both sides occupied the main ridgeline\hilltop with their respective cavalry brigades. See pics below.
The Austrians were played by JR (my son) and MS while the Russians were played by JZ and myself (BR).
The game had the historical outcome. I did not take pictures on a turn by turn basis since I was also the judge and wanted to keep things moving. I did take the below pictures with my iPad and will attempt to describe the action or inaction with the captions.
 |
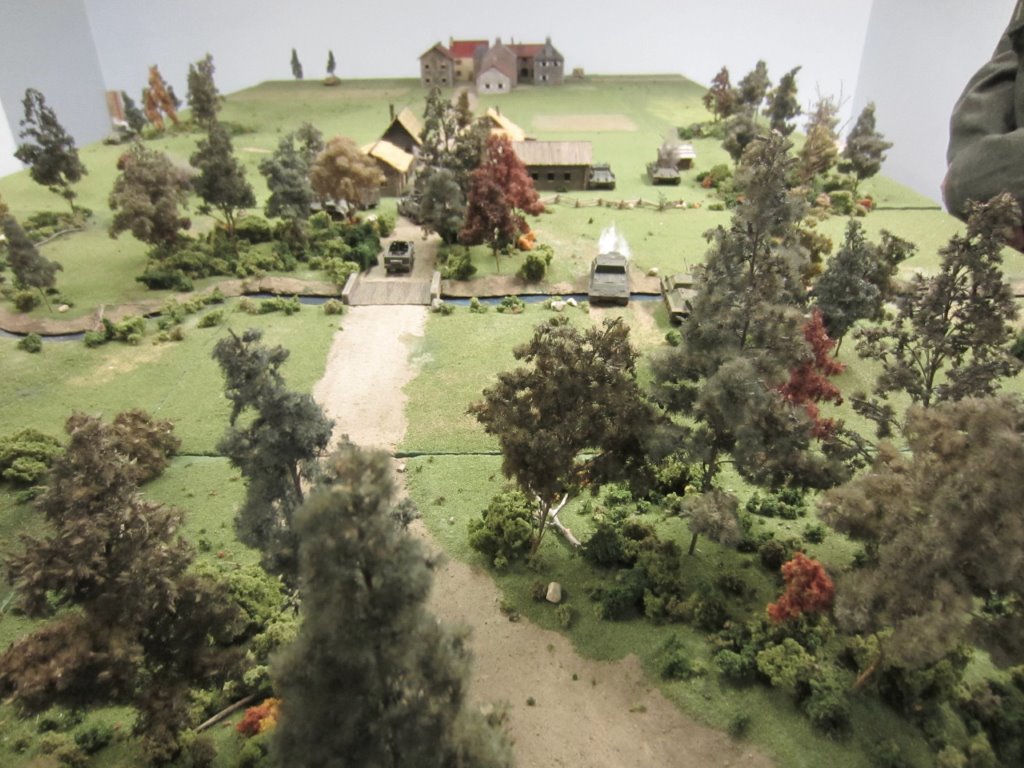
| General view of the magnificent terrain the game was played out on. |
 |
| The Austrian initial deployment. Austrian cavalry occupy the dominating terrain ridge\hilltop feature while two regimental infantry groupings are in close support. Austrian reserves are moving toward the bridge on the right and out of the picture, Most of the figures in this picture are from the HAT WW1 Austrian sets while the Austrian Dragoons on the left are Irregular Miniatures (metal). |
 |
| Two Cossack regiments on the other side of Hill 208 the main terrain feature throughout the game. The Cossacks would drive the Austrian cavalry off the hill in the only Russian success of the entire game! Note the MG cart on the left. |
 |
| The lead Russian regimental group arrives in Rudnik and starts to deploy. The figures are from HAT's WW1 line. |
 |
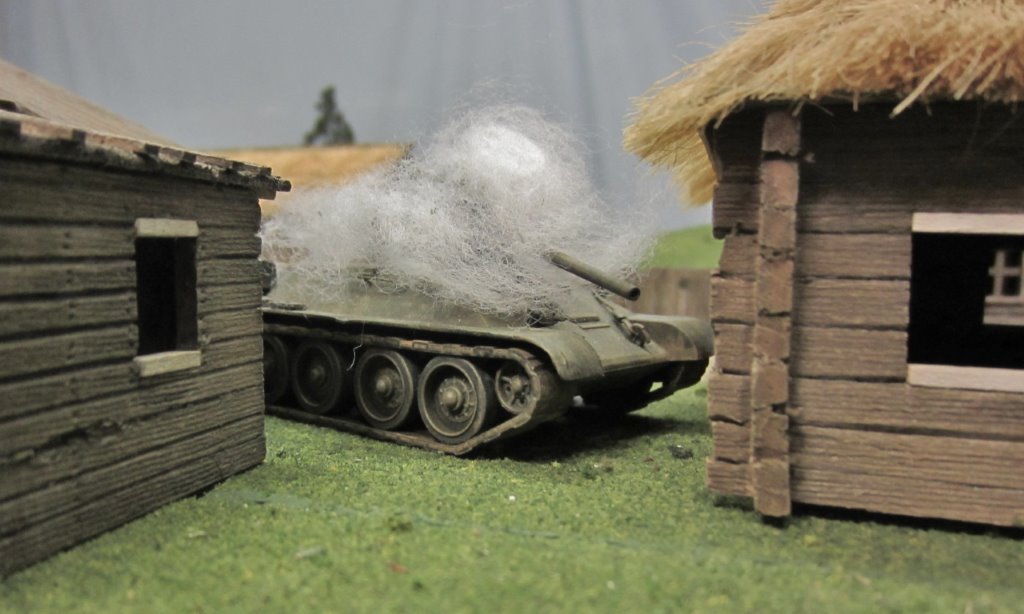
| Russian regiments in road column make their way to the front lines past an orchard. This group would be devastated by off board heavy artillery once they were sighted. The barrage virtually guaranteed an Austrian victory. |
 |
| Austrian reserves on the other side of the river. The figures here are from Irregular Miniatures in Great Britain. The color coding on the back of the stands is for operational identification. |
 |
| Nice view of the Austrian battle line with the infantry regiments in close support of the Austrian cavalry on the hilltop. I wanted to portray the Russian surprise at being out scouted by allowing the Austrians to be across the bridge in considerable force. |
 |
| The initial cavalry face off. Austrian Ulans on the left while Dragoons take up the flank. They will get pushed off the hill but it hardly matters as the Austrian infantry came up and devastated the Cossacks in the background. |
 |
| The traffic jam in Rudnik while the cow and calf try to avoid being someone's supper! The Russians were forced to go in piecemeal and while they held Rudnik it was only because time ran out (although it had become a bit of stronghold). JR suggested a follow up game to see if the Austrians could turn the Russian defeat into a total rout. We'll see. The bowl is full of pretzels. Nice. |
 |
| Nice shot of the Russians trying to get to the front line and deploy. Eventually, one regimental group would make it to the fence line on the far right while the remnants of two other regiments would try to hold Rudnik. |
 |
| The lead Russian regiment deploys to support the Coasscks but the Austrian firepower is too great and most of both groups are destroyed. |
 |
| The Austrians are in firm control of Hill 208 and the Russians cannot get enough units up to seriously challenge them. |
 |
| Russian remnants trying to turn Rudnik into a fortress.The ambulance is not nearly enough to take care of the Russian casualties. |
 |
| Not a half bad fortress! Although the Austrians did not have time to take the town the fortress did cause them to consolidate thus allowing the Russians to stiffen. |
 |
| Austrian reserves arrive on the Russian flank with little to stop them. Had the game gone longer this column may have proven to be decisive in taking Rudnik thus guaranteeing a Russian major disaster. As it was it was major enough! |
 |
| The Austrians approach the Russian right flank fence line. They have taken light losses. |
 |
| The Russians approach the fence line at the same time the Austrians do. |
 |
| Final Russian deployment at the end of the game. |
 |
Final Austrian deployment at game's end.
|
The game was a departure from my other WW1 games as I made major modifications that allowed a large game to be played in a reasonable amount of time. I will build on that success.
Most importantly we all had fun.