
The below pictures were taken at a recent Eastern Front game in 1\72nd scale. The scenario was drawn from the board game Squad Leader Scenario #5; Hill 621, July 1, 1944 (from Operation Bagration and the destruction of German Army Group Center).
The scenario featured elements of the 5th Russian Guards Army assaulting what was left of the German 170th Infantry Division. The game was played out on the squad level with homegrown rules.
The first seven pictures show the initial attack by the 5th Guards Army Infantry and the retreating Germans who are racing to establish another line of resistance.
The next seven pictures show the new line of German resistance buttressed by German armor consisting of PZ IVh and Stug IIIg's supplemented by a single Pak 40 ATG.
What follows is the edited description of the game from the photographer's point of view and scenario designer (MS).
The first pictures sent show the Guards attacking on foot, pursuing the the fleeing Germans. The Germans regrouped and took up a defensive position in the wooded area blocking a three way intersection. After a brief stand the Germans once again were forced to give way before the numerically superior Russians.
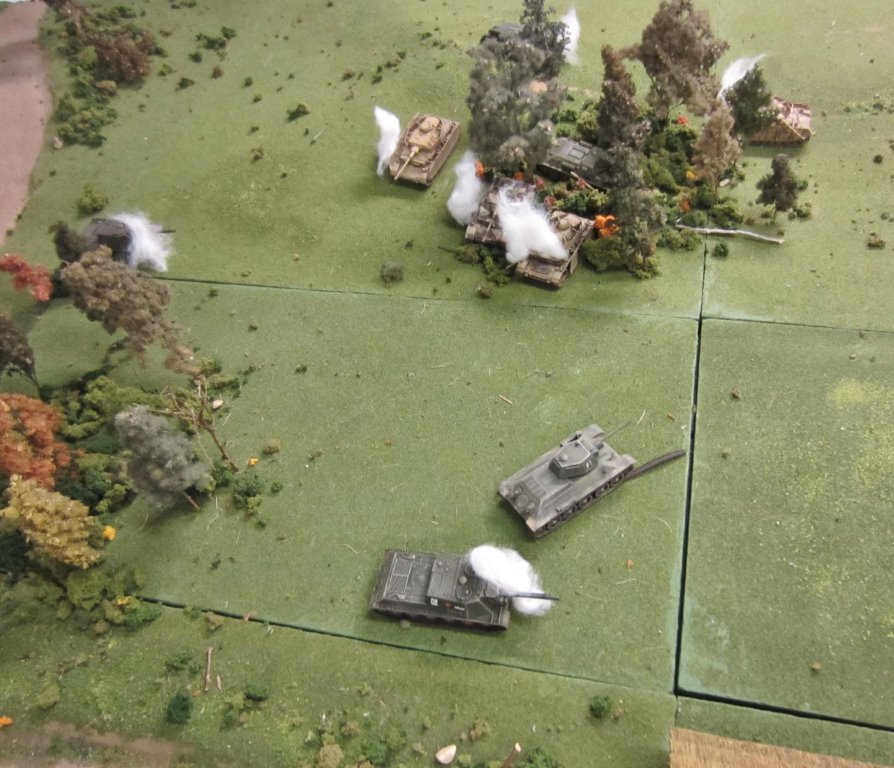
The Guards advance through the woods previously held by the Germans. While the Guards were advancing a platoon of 4, Pzkw IV's , arrived on the southern flank of the Guards catching them in the open. But, instead of attacking the Russian infantry they took up a hull down position to the east and engaged the T34’s as they emerged from the town, destroying two of them.
The Pz IV's then moved into a small woods and fired on the flank of the T34’s , destroying another 2, as they advanced to support the Guards. The remaining T34’s then turned to face the Pz IV's and were locked in a short exchange of rounds.
It looked as if the German armor was about to cut off the Guards and destroy them from behind, but at that moment the Russian SU’s, three SU-122’s and two SU-152’s arrived. One of the Pv IV's was immediately destroyed and this caused confusion among the rest of the German tanks and they were also destroyed before they could regroup. This meant the Germans went from victory to defeat in one game turn as the German tanks were destroyed and the infantry overrun.
At the last moment the Stug III's arrived at the pass and took up a position to support the Pak 40 and one squad of panzer grenadiers. The Russian tankers, believing the German armor had been eliminated charged out into the open to support the Guards Infantry. The Stug III's , Tank Hunters, lived up to their reputation and began picking off the SU’s at long range.
Next to arrive for the Germans was a Stug 42, 105 mm, which engaged the Guards with deadly effect. Across the front the Russian attack came to a slow halt. With most of their armor support destroyed and with increasing casualties among their ranks the Russians could go no further.
With most of the Guards holding the wooded area at the base of the northern ridge they did gain and control that ridge with two squads and a T34. The Germans were not strong enough to launch a counter attack.
The Russians were stopped, but only temporarily.


